My First Requea Application
- Manage
 Copy
Copy- Actions
 Export
 Print preview
 View Source
- Viewers
 Siblings
 Comments
- Annotations
 Attachments (9)
 History
 Information
The Requea platform allows you to create simple applications (and very complex ones also) very easily. Before we get into the details of the architecture and structure of entities and apps, let's create a small app.
Let's assume you want to tracks books that you get at your local public Library. For this we nee a couple of things:
- track books and store basic information into a "book" entity
- a few forms and lists to enter book information and get the list of books to be returned
Designing our Book app
To do that, you need to log as a super admin or "RequeaDev". Password is "RequeaDev" by default.
Go to the design tab. There you will find menus to create and edit "Bundles", "Entities" and so on. We will cover those concepts in details later on, but for now, click on the "Entities" menu.
An Entity is kind of an object. It has properties and most of the time it is stored in the database.
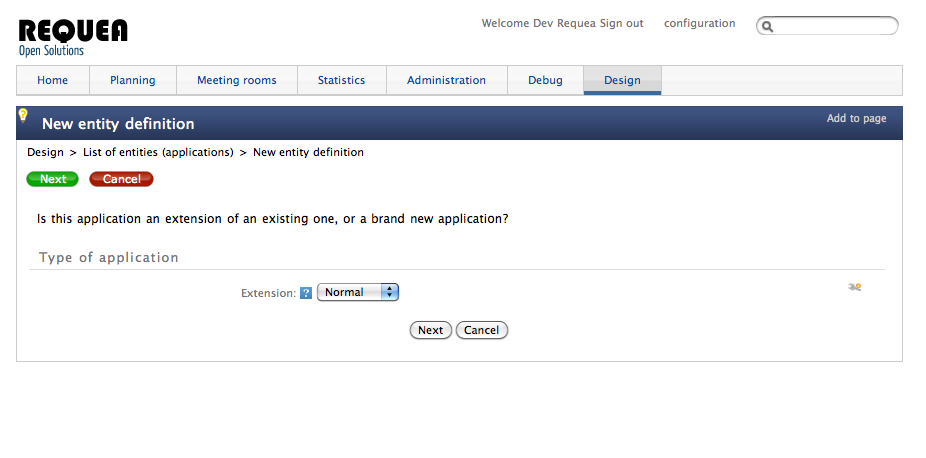
So let's create a new one that will manage our books. That will get us to a mutli-step wizard to enter basic entity information
- Type of application. Let's keep "normal" for now. We want a basic book. The other options are for extensions of existing entities. We will get into this later.
- After clicking on "Next" you get to the name page. Let's call it "Book". The bundle field should be "Customer personalization". It's the good option for a start. Then make sure the "Persisted" option is checked. "Persisted" means "stored in the database", as opposed as a transient entity which is only used for intermediate calculations.
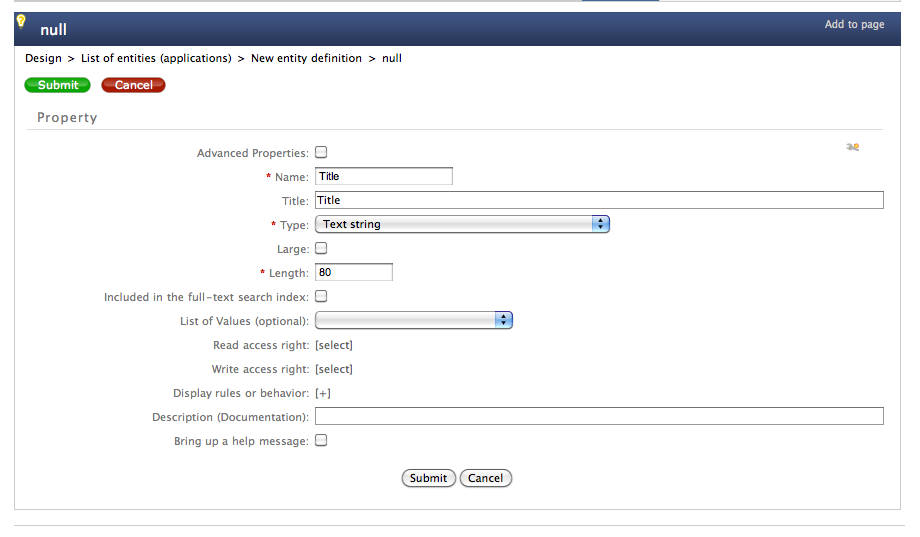
- Click on Next and go to the Property page. Click on the plus sign to add a property. We will have to add 3 properties: Titile, Author, and return date.
- Property 1: Title. Fill in name and property title. The property type is "Text String" and you may increase the maximum length to 80.
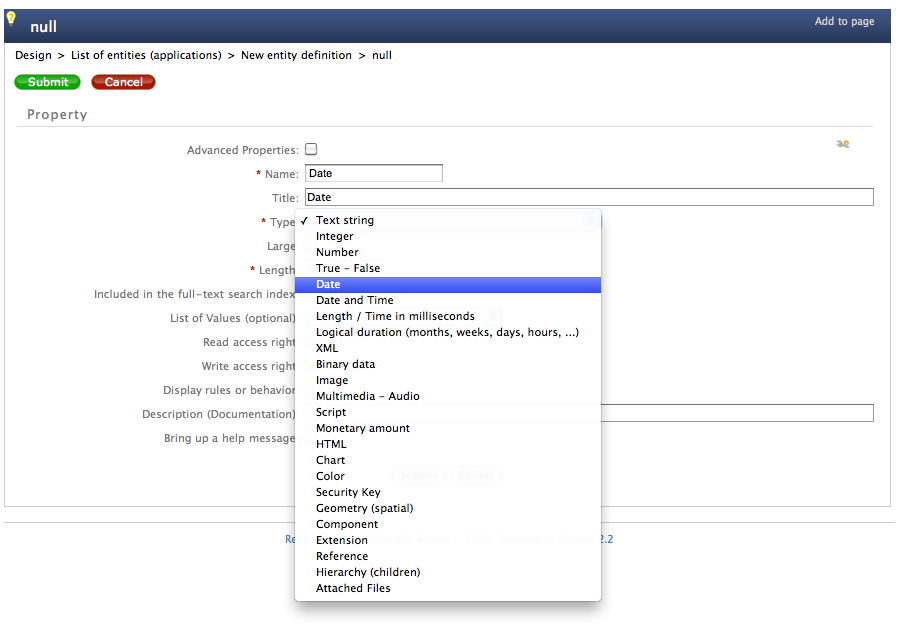
- Property 2: Click on submit will get you back to the property page. Click on the plus sign again and add the Author property.
- Property3: Same thing with Date. Make sure the type is "Date"
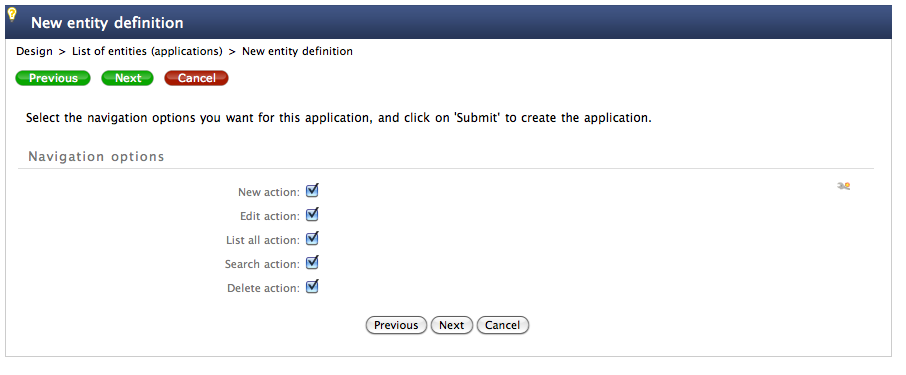
- Click on submit will get you back to the Property field list. Click on next to go the the navigation options.
- Make sure everything is checked on the navigation panel. Those options are there to instruct the wizard to create default user navigation (called "User actions").
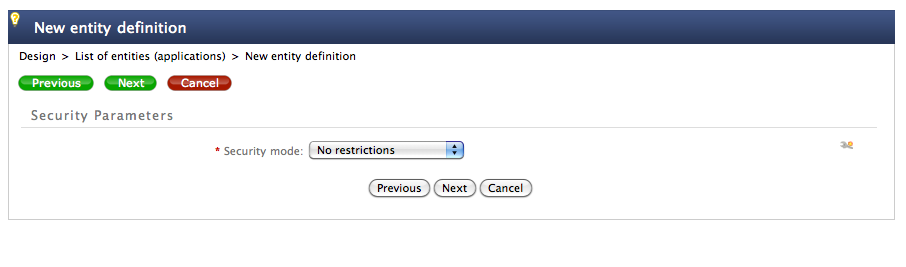
- The next page is about setting up default security. For now, let's keep it open with "No restrictions".
- The next tab is a summary screen and should look like this:
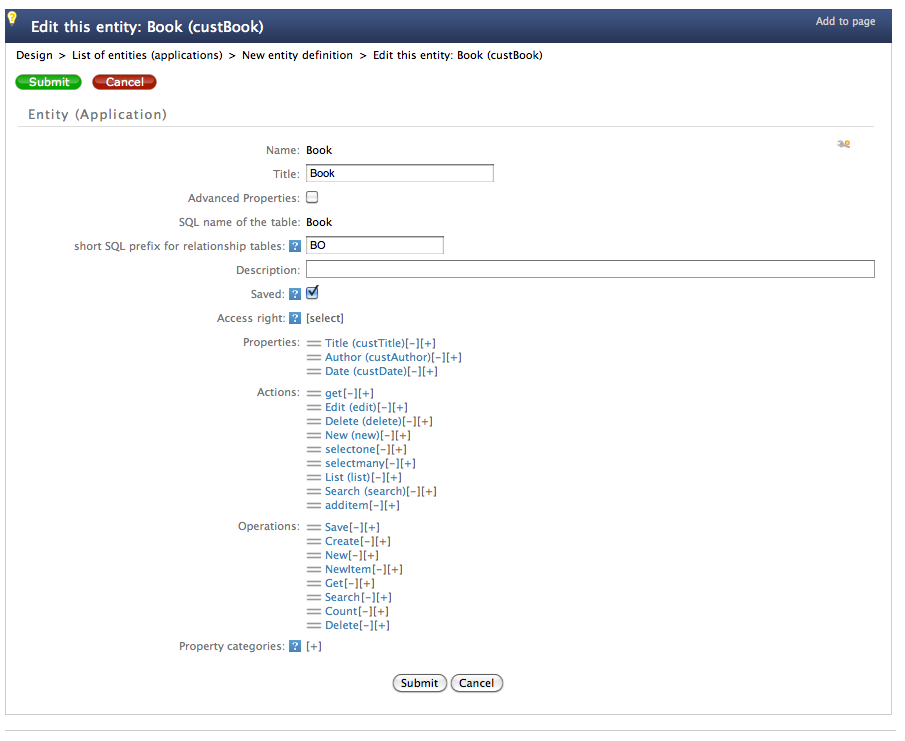
- Fill in the "Book title and "BO" as the short SQL name for relation table. Then click on "Submit". It may take a few moments to complete.
Using our Book app
Now that our book app is created, we have a few URLs to manage our books:
To create a new book:
http://localhost:8080/dysoweb/do/custBook:new

To get the list of books:
http://localhost:8080/dysoweb/do/custBook:list
No comments for this page